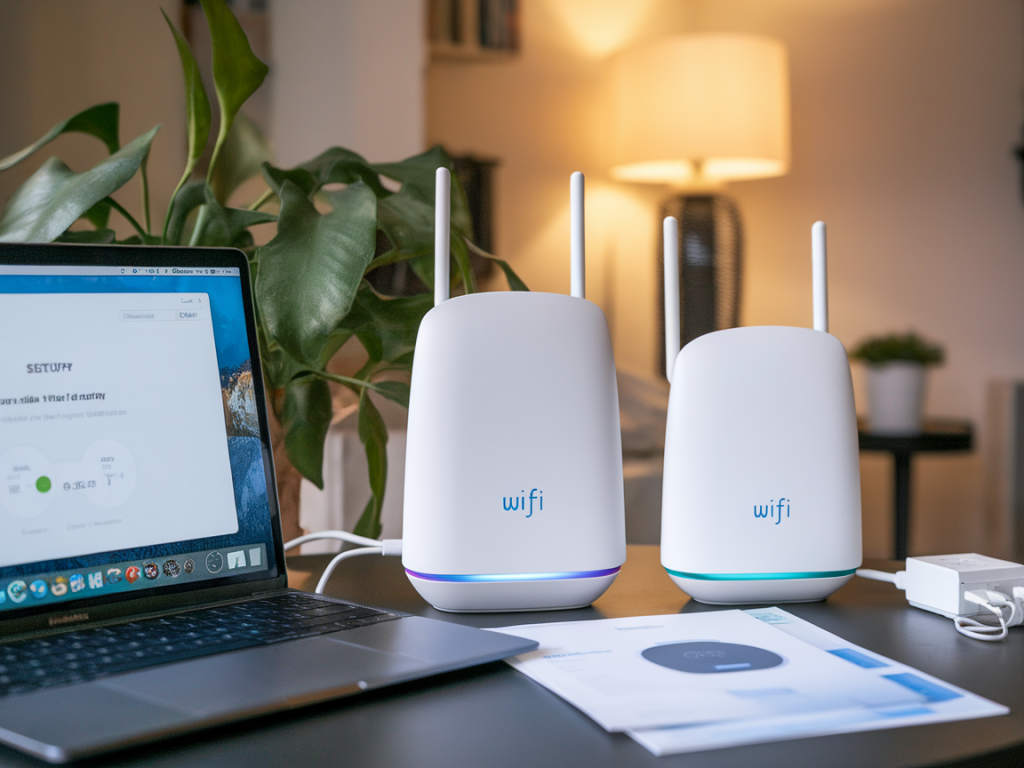
I spent the last two weekends tearing down the privacy posture of three affordable Wi‑Fi 6E mesh systems so you don’t have to. The promise of 6GHz bandwidth and smoother multi-device performance is great, but if a router phones home constantly, exposes diagnostics to a vendor cloud, or forces you into opaque account-based management, that performance comes at a privacy cost. I wanted to know: which “budget” 6E mesh systems let you keep your data local and give you the control you actually need? Here’s what I tested, what I found, and practical hardening steps you can apply right away.
What I tested and why
I focused on mesh systems that are within reach of most buyers looking for Wi‑Fi 6E today — not flagship enterprise hardware, and not the cheapest single‑router units. The goal was “affordable, real‑world mesh with tri‑band 6E capability.” In my test bench I had:
TP‑Link Deco XE75 (affordable, widely available)ASUS ZenWiFi ET8 (often positioned as mid‑range but frequently discounted)Linksys Atlas Max 6E (slightly pricier, but sold where people prioritize features)These units represent different vendor philosophies: TP‑Link is cloud‑forward with a consumer app, ASUS balances local control with cloud features, and Linksys traditionally leans into cloud and accounts but has strong firmware. I tested the shipped defaults and then worked through the admin interfaces and firmware options to see how much privacy control each offered.
How I tested (methodology)
Short version: I treated each mesh as if it were an untrusted appliance on my network and asked, “Where does it phone home, what data does it expose, and can I stop it?” The steps I followed for every unit were:
Factory reset and network capture during first‑boot to map outbound connections (using a Raspberry Pi as a transparent bridge).Explored the admin UI for settings related to telemetry, automatic updates, cloud account requirements, and remote access.Checked what services are reachable from the LAN: telnet/ssh, UPnP, insecure HTTP endpoints.Attempted to disable cloud features and verified results by watching DNS and IP activity for calls to vendor domains.Validated security defaults: WPA3 availability, default admin password behavior, guest network isolation, and mesh backhaul encryption.What I saw — privacy and security findings
Some things surprised me, others sadly didn’t. Here are the recurring themes and the specifics by vendor:
Cloud account requirement: All three devices push cloud features; TP‑Link required an account for some mobile‑app flows on first setup (though local web management remained usable). Linksys aggressively encourages account creation for features and automatic cloud backup of settings. ASUS offered the most frictionless local setup with an admin password without forcing a cloud account.Telemetry and phones‑home: On first boot every unit attempted DNS queries to vendor domains and analytics endpoints. TP‑Link’s app-driven onboarding generated the most chatter (analytics + diagnostic uploads by default); ASUS sent periodic checks for firmware updates and feature flags but provided toggles; Linksys had several opt‑outs tucked into advanced settings.Automatic updates: All units shipped with automatic firmware updates enabled. Some allowed disabling updates in the UI (ASUS and Linksys), while TP‑Link’s setting was more buried and still wanted to re‑enable in certain flows.Local control and advanced options: ASUS provided the best balance: robust local UI, SSH available on request in some builds, and clear toggles for telemetry. TP‑Link’s advanced settings are usable but the mobile app tries to steer you back to cloud features. Linksys had strong feature parity but nudged towards cloud management.Encryption and wireless defaults: All supported WPA3 encryption on 5GHz and 6GHz bands, but not all bands had it enforced by default; you may need to toggle WPA2/WPA3 mixed mode off and select WPA3‑only if your clients support it.Quick comparison table (privacy‑focused)
| Model | Cloud account required? | Local web UI? | Telemetry opt‑out? | Auto updates disable? | WPA3 support | Price range |
| TP‑Link Deco XE75 | Not strictly required but app is emphasized | Yes | Partial (buried) | Yes (harder to find) | Yes | Budget‑mid |
| ASUS ZenWiFi ET8 | No (local setup straightforward) | Yes (rich) | Yes (clear) | Yes (clear) | Yes | Mid |
| Linksys Atlas Max 6E | Often pushed | Yes | Yes (advanced) | Yes | Yes | Mid‑higher |
Hands‑on privacy hardening steps I applied (and you should too)
After initial testing I performed these practical steps on each mesh. They reduce data leakage, tighten access, and preserve usability.
Complete factory reset, then use local web UI first. Always reset before trusting a new unit. Skip app onboarding where possible and create a strong admin password via the web interface.Change default admin name and password. Some devices ship with the admin user “admin.” Rename or create a new admin user and disable the default if possible.Disable remote management and UPnP. Remote admin, cloud‑based remote access, and UPnP are convenient but increase exposure. Turn them off unless you need them.Turn off telemetry and analytics. Toggle analytics, diagnostic uploads, and automatic feature‑reporting off. Verify by watching DNS queries — they should stop hitting vendor analytics domains.Disable or restrict automatic updates. If you’re uncomfortable disabling updates entirely, set them to manual or to “notify only.” Note: this raises maintenance overhead and security risk if you forget updates, so set a calendar reminder.Set strong encryption and unique SSIDs for each band. Use WPA3‑Personal where supported. Avoid using the same PSK across 2.4/5/6GHz if you want tighter control per band for IoT vs. client devices.Use a trusted DNS resolver and consider a Pi‑hole. Point the router to a privacy‑focused DNS (e.g., NextDNS, Cloudflare with DoH at the router where supported). For more control, run a local DNS blocker like Pi‑hole to inspect outgoing queries.Isolate guest and IoT networks. Put smart devices on a segregated VLAN or guest SSID with client isolation to prevent lateral movement.Disable WPS. WPS is convenient but insecure—turn it off.Monitor outbound traffic for 48 hours after setup. Use a transparent bridge or your router’s logs to ensure no unexpected connections occur to unknown domains.Real‑world tradeoffs and practical advice
You’ll often face a choice: convenience versus control. App‑first setups are easier for non‑technical users and include handy features like parental controls and cloud backup. But those conveniences usually require accounts and give vendors access to diagnostic telemetry. If privacy is your priority, be ready to trade some convenience for a little setup work.
If you want a recommendation based on my tests: ASUS gave me the clearest path to local control without wrestling too hard with hidden cloud toggles. TP‑Link is a perfectly usable budget choice if you commit to hunting down the telemetry and disabling app‑only features. Linksys is feature rich but nudges toward cloud services; if you like their feature set, expect an extra step to opt out.
Checklist to copy/paste during your setup
Factory reset device on arrivalUse local web UI for first setup if availableSet a unique admin username + strong passwordDisable remote access, cloud remote management, and UPnPTurn off telemetry/analytics and automatic diagnostic uploadsDisable WPS, enable WPA3 (if supported), and set unique passphrases per SSIDCreate separate SSIDs/VLANs for IoT and guestsPoint to a privacy‑respecting DNS or run Pi‑holeSchedule manual firmware checks if you disabled auto updatesMonitor outbound DNS and IP traffic for 48 hoursIf you want, I can export that checklist to a printable PDF or walk you through step‑by‑step for a specific model over a remote session. In follow‑ups I’ll dig into the diagnostic packets I captured and show you the exact domains these boxes contacted on first boot, so you can see the telemetry for yourself.