Software

Building a privacy-first smart home with home assistant and local ai: a practical setup guide

Building a privacy-first smart home with home assistant and local ai: a practical setup guide

I’ve been living with a privacy-first smart home setup for a couple of years now, and every week I find one more way to stop sending data to cloud services while keeping — and sometimes improving — the convenience I actually want. If you care about privacy, security, and resilience, you can build a highly capable home automation system using Home Assistant as the orchestrator and local AI for voice, presence, and automation intelligence. Below I share the practical steps, trade-offs, hardware recommendations, and example configurations that worked for me.

Why local-first smart home?

Cloud services are convenient: voice assistants that always understand you, integrations that “just work”, and remote access from anywhere. But that convenience often comes with continuous data collection, vendor lock-in, and security exposure. Going local reduces the amount of personal data leaving your home, improves privacy, and gives you more control over reliability (your automations still run if your internet goes down).

Overview: what you’ll need

High-level components for a privacy-first setup:
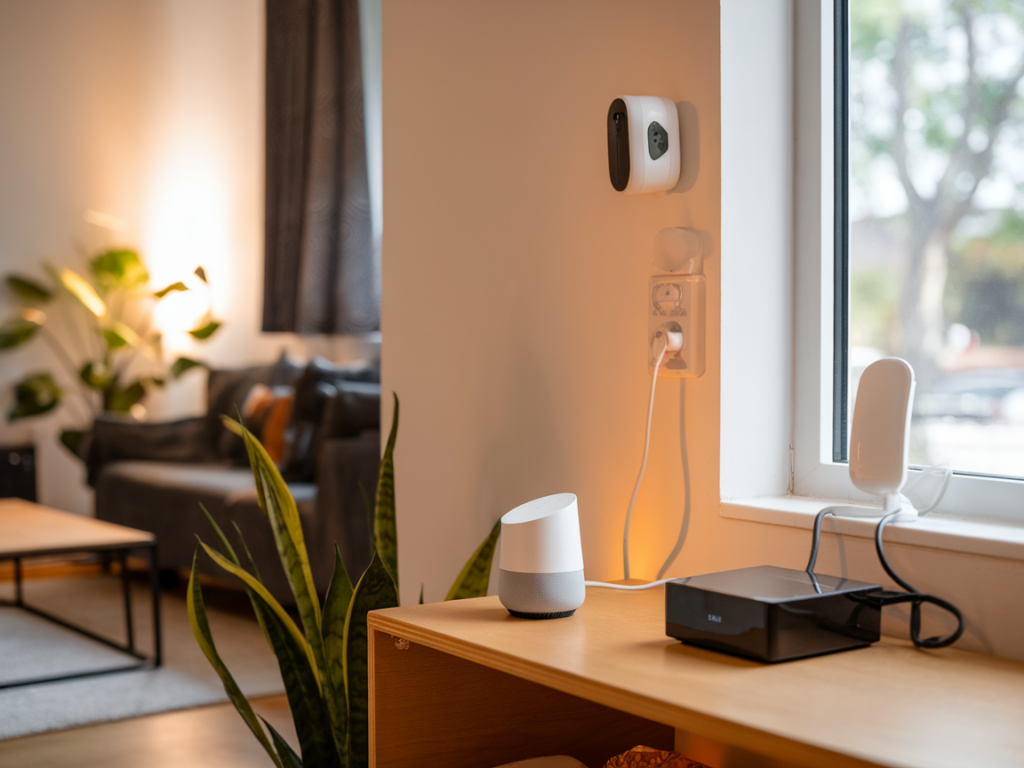
  • A reliable Home Assistant instance (server or Raspberry Pi)
  • Local NLP/voice stack for offline voice control
  • Local media and file services (optional but recommended)
  • Secure local network (VLANs, Pi-hole or DNS over HTTPS, router firewall)
  • Edge-friendly hardware for AI tasks (small GPU, NPU, or beefy CPU)
  • Choosing hardware

    Home Assistant can run on a modest Raspberry Pi 4 for many homes, but adding local AI (speech recognition or LLM inference) benefits from more oomph. My current setup:

  • Home Assistant OS on an Intel NUC (8GB+ RAM) as the primary controller — fast, stable, and supports add-ons.
  • An NVIDIA Jetson Orin Nano for local speech and small LLMs (if you want GPU acceleration).
  • Raspberry Pi 4 (4GB) for secondary tasks like Pi-hole and Zigbee2MQTT.
  • If you prefer a single-device setup, a 6–8 core Intel NUC with 16GB RAM is a sweet spot for running Home Assistant plus local ML in containers. If you want offline LLMs beyond small models, look for devices with an NVIDIA GPU or local NPUs (Coral, Jetson).

    Installing Home Assistant

    I install Home Assistant OS on an SSD attached to the NUC. The steps I follow:

  • Download Home Assistant OS image (https://www.home-assistant.io/installation/).
  • Flash the image to an SSD using balenaEtcher and connect to the NUC.
  • Boot and complete the web UI onboarding on the local network.
  • Enable SSH and create long-lived access tokens for secure integrations.
  • For backups, configure snapshots and offsite encrypted backups to a local NAS or an encrypted cloud bucket (I keep at least one local copy).

    Network and security basics

    Good network hygiene protects your local AI and Home Assistant:

  • Put IoT devices on a separate VLAN or guest network so they can’t reach your primary devices.
  • Use Pi-hole or a local DNS resolver with DNS over HTTPS to block telemetry domains (I use Pi-hole on a Pi with conditional forwarding).
  • Disable UPnP on the router — it’s convenient, but a common attack vector.
  • Use strong, unique passwords and two-factor auth where supported (Home Assistant supports multi-factor authentication).
  • Limit remote access; if you want it, use a VPN to your home rather than exposing Home Assistant directly to the internet. I run WireGuard on my router for secure remote access.
  • Local voice control and ASR

    Voice is one of the trickiest privacy problems because many speech-to-text services send audio to the cloud. Options for local voice:

  • Rhasspy — a mature, offline voice assistant toolkit that works with Home Assistant and supports wake words, intent recognition, and local TTS/ASR. It can run on a Pi or NUC.
  • Porcupine + Vosk — Porcupine for wake word detection (efficient and local), Vosk for offline ASR (accurate on modern CPUs).
  • Whisper.cpp — a CPU-optimized port of Whisper that can run locally for higher-quality transcription (reasonable on an NUC).
  • My setup: Porcupine for wakeword, Whisper.cpp on the Jetson for transcription when needed, and Rhasspy to convert speech into Home Assistant intents. This combination gives snappy wake detection and good recognition for commands, all without cloud audio.

    Local natural language (NLP) and LLMs

    Adding local intelligence lets you write automations like “set the office to comfy mode” and have a local model handle ambiguous phrasing. Options:

  • Small on-device models — models like alpaca.cpp, Llama.cpp-compatible weights, or distilled models can run locally for simple intent-parsing or summarization. They work fine for house-specific tasks.
  • Rasa/NLU or Duckling — for structured intent/entity extraction without LLMs, robust and deterministic.
  • Local embedding + vector DB — for local knowledge retrieval (home rules, device docs), use sentence-transformers locally and a lightweight vector DB such as Milvus or Weaviate (self-hosted) or even SQLite for small datasets.
  • Example: I run a small Llama.cpp model container for natural language to Home Assistant action mapping. For privacy, I keep the model weights on my NUC and never expose the inference endpoint publicly.

    Integrating local AI with Home Assistant

    Integration patterns I use:

  • Expose the local NLP/ASR pipeline as a REST endpoint or MQTT topic that Home Assistant calls to parse speech into intents.
  • Use Home Assistant’s webhook or intent engine to map parsed intents to actions or scripts.
  • Keep a local “skill” repository: YAML scripts for common intents (lighting scenes, thermostat modes, timers).
  • Example automation snippet (conceptual):

    <pre>Trigger: webhook from rhasspyAction: choose based on intent: - intent: TurnOnLight -> call service light.turn_on - intent: SetScene -> call scene.turn_on</pre>

    Local media and data storage

    Where possible, avoid cloud services for media and logs:

  • Host a local Plex or Jellyfin for video/music.
  • Store recordings or transcripts on an encrypted NAS with retention policies — I keep voice transcripts for 7 days unless explicitly saved.
  • Use SQLite or MariaDB for Home Assistant database (MariaDB is more robust at scale).
  • Trade-offs and realistic limits

    Local-first means trade-offs:

  • Complex NLP and large multimodal models will be slower or impossible without high-end hardware — acceptable if your requirements are modest.
  • Some integrations are cloud-only (certain smart home vendor APIs). For those, check if the device supports local control (Zigbee/Z-Wave/Local API) or choose hardware that exposes a LAN interface.
  • Maintaining local services means more hands-on maintenance and occasional updates — but you also gain transparency and control.
  • Quick checklist to get started

    StepAction
    CoreInstall Home Assistant on a NUC or Pi; create snapshots
    NetworkSegment IoT, enable Pi-hole, disable UPnP
    VoiceInstall Rhasspy or Vosk + Porcupine; connect to HA via MQTT
    NLPRun Llama.cpp or Rasa locally for intent parsing
    SecuritySetup WireGuard for remote access, MFA for HA, backups

    If you want, I can share my Home Assistant YAML snippets for Rhasspy integration, a Docker Compose file for local LLM inference, or a shopping list matching your budget (Pi-based, NUC-based, or GPU-based). Tell me which hardware you have and how deep into local AI you want to go, and I’ll adapt the guide to your home.

    You should also check the following news:

    Can drift detection save your production llm? practical alerts and rollback strategies
    AI

    Can drift detection save your production llm? practical alerts and rollback strategies

    Keeping a large language model (LLM) healthy in production feels a bit like tending a...